How to

DIY Lip Balm

DIY Lip Balm

Making your own lip balm is beyond easy; in fact, you might even know several people who have already given it a whirl. DIY lip balm is great because not only can you make it just the way you like it, you can control the ingredients.

You should be able to find most of the supplies you need for this project in your co-op’s health and body care section, or online in larger quantities. A local craft store is another good place to look, especially for tins and tubes to hold the finished product.

To make the balm, follow this general recipe, and customize to your tastes from there. We’ve included a few of our favorite scent combos below for inspiration.

Lip balm recipe

Makes 4 ½-oz. tubes

  • 1 tablespoon beeswax pearls (or 1 tablespoon grated, unbleached beeswax)
  • 1 tablespoon shea butter
  • 2 tablespoon carrier oil (sunflower, castor, almond or jojoba)
  • 10-15 drops essential oil
  • 1 teaspoon honey (optional, for those that like it slightly sweet) 

Melt beeswax, shea butter and oil together in a small bowl in the microwave. If you don’t have a microwave, use a double boiler or a heat-safe bowl over simmering water. Stir until ingredients are liquid, then add essential oils and optional honey. Mix well. Transfer to a large eyedropper, syringe, or container with a spout, and divide liquid among four ½ ounce lip balm tins, jars or tubes. 

Customize your creation

To tint or color lip balm, add 1/8 teaspoon of lipstick to the solid ingredients when melting (just take a tiny dab off the end of your favorite tube). You can also use a drop or two of natural red food coloring, or a small amount of beetroot powder or a loose mineral powder (like blush). 

To make lip balm super shiny, adjust the recipe by adding one teaspoon more of carrier oil. Note that this formulation will not be suitable for tubes, since the end result will not be firm enough. 

Scent ideas: In addition to single scent blends that are popular, like peppermint and vanilla, consider these fun combinations:

Reprinted by permission from StrongerTogether.coop. Find articles about your food and where it comes from, recipes and a whole lot more at www.strongertogether.coop

Turkey Roasting Tips

Turkey Roasting Tips

Roast your turkey to perfection with these turkey roasting tips.

Roasting

  1. Remove the giblets from turkey cavities after thawing. Cook separately.
  2. Set oven temperature no lower than 325°F.
  3. Place turkey or turkey breast on lower rack in a shallow roasting pan.
  4. For even cooking, bake stuffing in a separate casserole dish, versus in the bird. Use a food thermometer to check the internal temperature of the stuffing. The center should reach 165°F.
  5. If you choose to stuff your turkey, the ingredients can be prepared ahead of time. Separate wet and dry ingredients, and chill wet ingredients (butter/margarine, cooked celery and onions, broth, etc.) until ready to prepare. Mix wet and dry ingredients together just before filling the turkey cavities. Fill the cavities loosely. Cook the turkey immediately. Use a food thermometer to make sure the center of the stuffing reaches 165°F.
  6. Whole turkeys should be cooked to 165°F. To check for doneness, insert a food thermometer in the thickest part of the inner thigh without touching the bone.
  7. Turkey breasts should be cooked to 165°F. Insert a food thermometer in the thickest part of the breast to check for doneness.
  8. Let the turkey stand for 20 minutes before carving to allow juices to set. The turkey will carve more easily.

Turkey roasting timetable

Oven times are approximate and will vary. Always use a meat thermometer to ensure the correct internal temperature of 165°F has been reached.

325°F oven temperature

Unstuffed

4–8 lbs → 1.5–2.75 hours
8–12 lbs → 2.75–3 hours
12–14 lbs → 3–3.75 hours
14–18 lbs → 3.75–4.25 hours
18–20 lbs → 4.25–4.5 hours
20–24 lbs → 4.25–5 hours

Stuffed

6–8 lbs → 2.5–3 hours
8–12 lbs → 3–3.5 hours
12–14 lbs → 3.5–4 hours
14–18 lbs → 4–4.25 hours
18–20 lbs → 4.25–4.75 hours
20–24 lbs → 4.75–5.25 hours


Thawing

Thawing in the refrigerator

Keep the turkey wrapped and place it in a pan. Let it stand in the refrigerator roughly 24 hours for each 5 pounds. Large turkeys should stand in refrigerator a maximum of 5 days. The giblets and neck, which are customarily packed in the neck and body cavities of frozen turkeys, may be removed from the bird near the end of the thawing period. If desired, the giblets and neck may be refrigerated and reserved for use in giblet gravy.

Thawing in cold water

Make certain that the turkey is in a leak-proof package or a zipper-seal plastic bag. This prevents bacteria in the surrounding environment from being introduced into the food, and prevents the poultry tissues from absorbing water. Change the cold water every 30 minutes. Approximately 30 minutes per pound of turkey are required for thawing. After thawing in cold water, the turkey should be cooked immediately.

USDA meat and poultry hotline

1-888-MPHotline (1-888-674-6854)
TTY: 1-800-256-7072
10:00 a.m. to 4:00 p.m. Eastern time, Monday through Friday
E-mail: mphotline.fsis@usda.gov


Reprinted by permission from StrongerTogether.coop. Find articles about your food and where it comes from, recipes and a whole lot more at www.strongertogether.coop

Creating the Perfect Cheese Plate

How to make the perfect cheese plate

Putting together a spectacular cheese platter is easier than you might think. Here are a few tips:

The cheese platter

  • Serve cheese at room temperature. The cold from the refrigerator inhibits its flavor, so take your cheese out half an hour before guests arrive to allow it to “bloom.”
  • Provide a serving utensil for each variety of cheese on your tray.
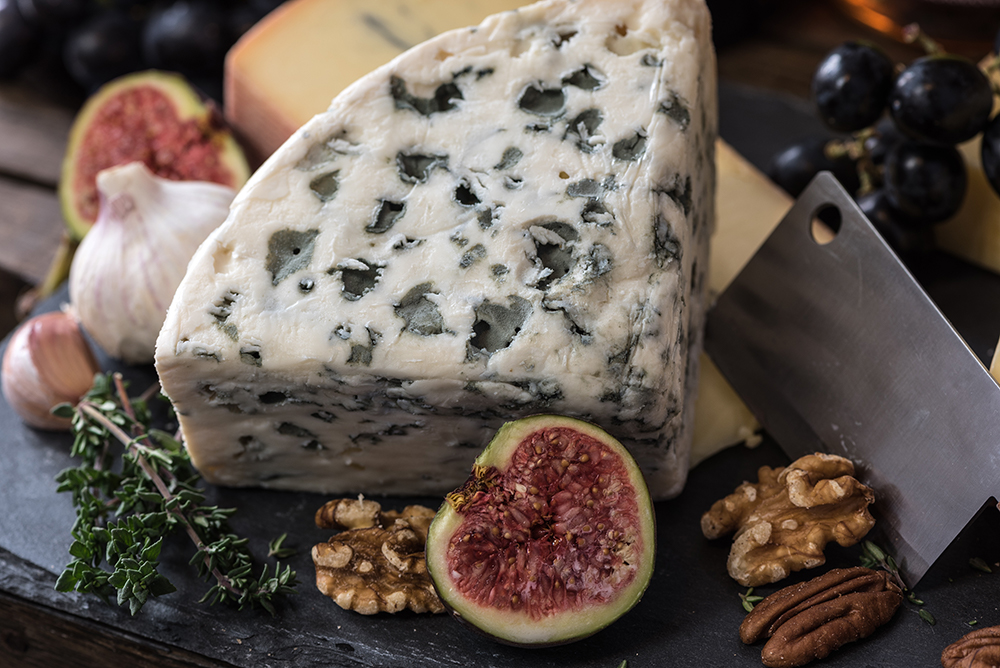
  • Serve a selection of three to five contrasting cheeses. Think different tastes, colors, and textures, like mild with robust (like Brie with blue cheese), fresh with aged (like Boursin with aged Gruyere), or soft with hard cheeses (like chevre with Parmesan).
  • Create a themed tray by offering cheeses from one region or source, or showcase an array of cheeses made from different milks (cow, goat, sheep).

Accompaniments

Whether you serve them individually or on the same platter, some foods are perfect complements to cheese. These include:

  • Fresh and dried fruits
  • Crostini, flatbread, and other crackers
  • Hearty and crusty breads
  • Olives
  • Nuts
  • Honey

To create an antipasto platter, include a mix of marinated vegetables and cured meats.

Wine and beer cheese pairings

In general, a wine that comes from the same geographic area as the cheese will be a good match. Here are some other pairings:

  • Goat cheeses and dry red wines
  • Cheddars with sweet wines and pale and brown ales
  • Fresh, medium, and hard cheeses with crisp, fruity red or white wine
  • Cheeses with bloomy rinds (like Brie) and fruity red wines or light, dry champagnes
  • Swiss cheeses with dark lagers, bocks, and Oktoberfest beers
  • Feta and wheat beers
  • Sweet cheeses with fruity beers


Reprinted by permission from StrongerTogether.coop. Find articles about your food and where it comes from, recipes and a whole lot more at www.strongertogether.coop

All about the dough

Berry Pie

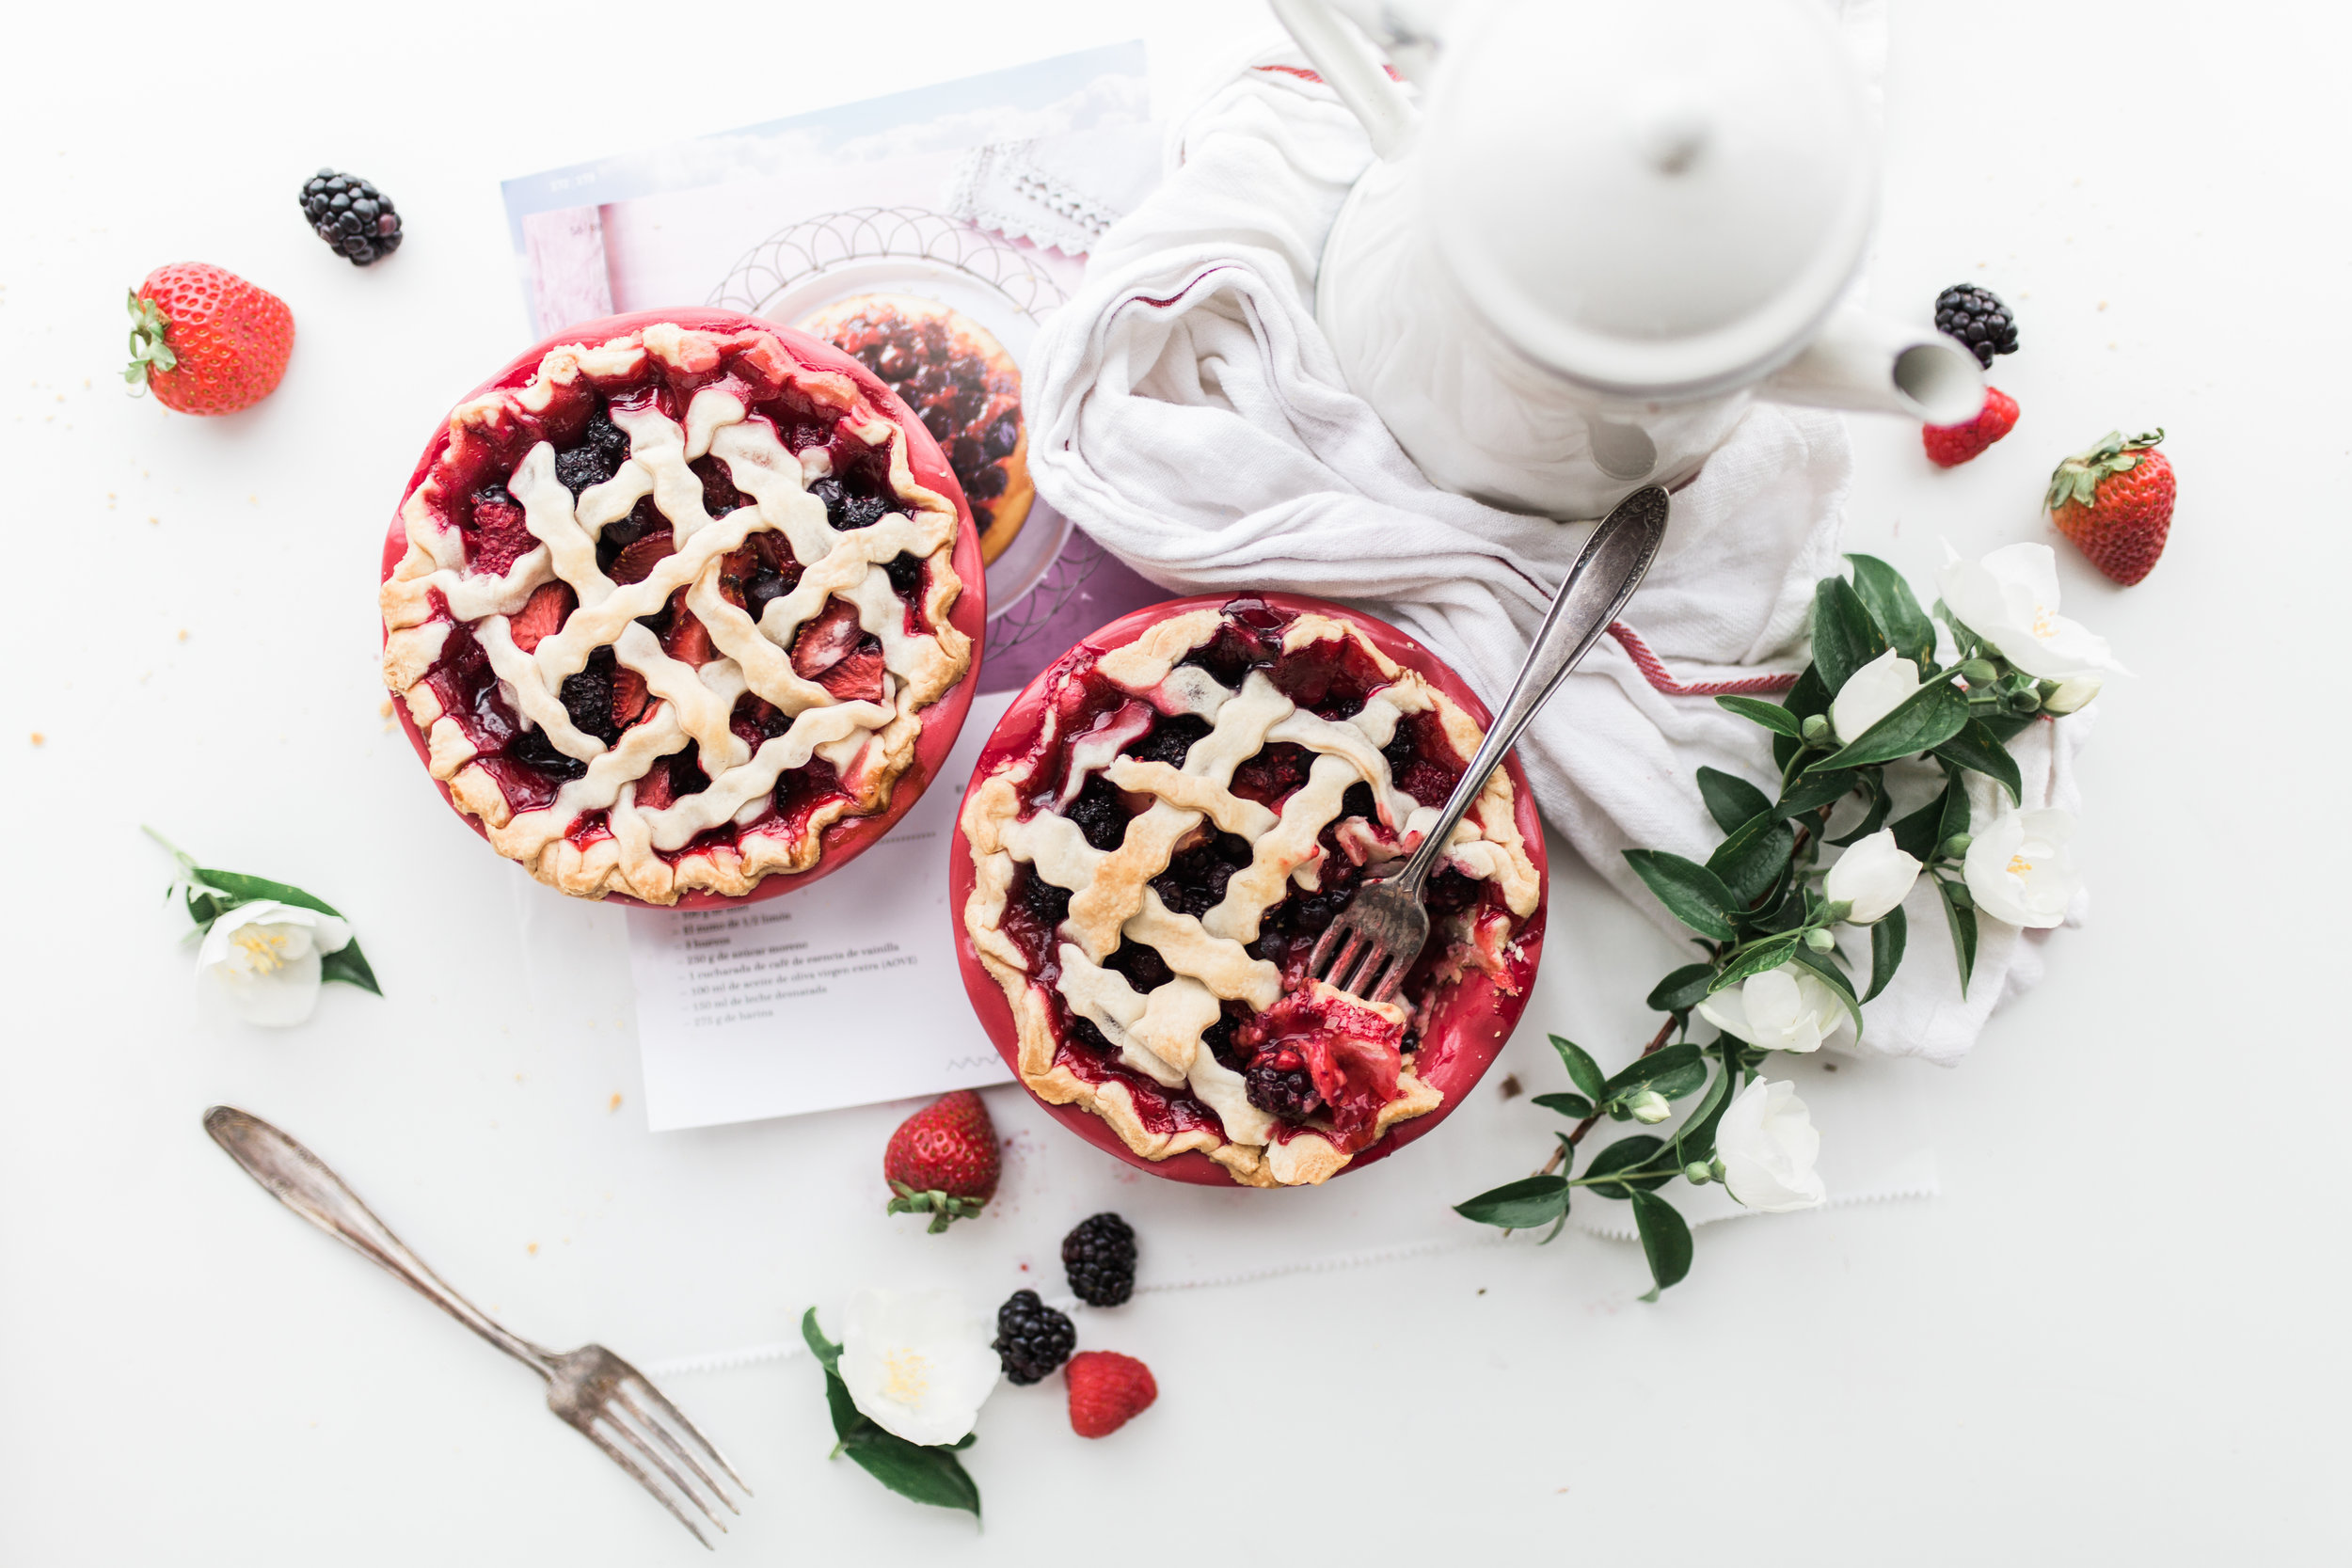
Pie is one of those treats that is incredibly versatile. The size, shape and design can be tailored to the baker’s liking and fillings can be easily changed to reflect the season.

But, the best part of the pie? The crust.

Follow our basic guide to create the best homemade crust this holiday season.

The 3:2:1 pie dough ratio

The most flaky, tender crust comes down to a simple 3:2:1 ratio of ingredients—flour, fat, water— no actual recipe needed. This is the basics foundation for not only pies, but also tarts, galettes, pot pies, hand pies and more.

The “3” in this ratio is flour. Pastry flour contains less gluten than all-purpose flour and therefore creates a more tender crust, but all-purpose flour will work just fine if that’s what you have on hand.

The “2” is fat. Butter is the most common type of fat used, but other solid fats will work as well. Lard produces a flaky crust; coconut oil can be used to create a vegan crust. Substitute chicken or bacon fat for a portion of the fat in savory applications. Whatever fat you choose, it must be cold and solid - no liquid oils as they don't create the necessary air pockets for a light, flaky crust.

The “1” is ice cold water. Dissolve about 1/4 teaspoon of salt per batch to make the water extra cold.

The amounts in the 3:2:1 ratio refer to the weight (e.g. 3 oz. flour, 2 oz. fat, 1 oz. water). With those exact measurements you could make a pie crust, but it would be quite small. To know exactly how much dough you need you must first know how big your pie pan is. A basic rule of thumb: one inch of pan equals one ounce of dough. Using the standard nine inch pie pan, follow this recipe:

4.5 ounces flour + 3 ounces fat + 1.5 ounces water + 1/4 teaspoon salt = 9 ounces

Don't have a kitchen scale? Never fear. One cup of flour weighs roughly 4.5 ounces. How convenient! And 1 ounce equals 2 tablespoons. With this in mind, here’s the same recipe as above for a single batch:

1 cup flour + 6 tablespoons fat + 3 tablespoons water + 1/4 teaspoon salt = 9 ounces

Making a pie that requires a top crust? Just double the recipe.

How to mix pie dough

Pecan Pie

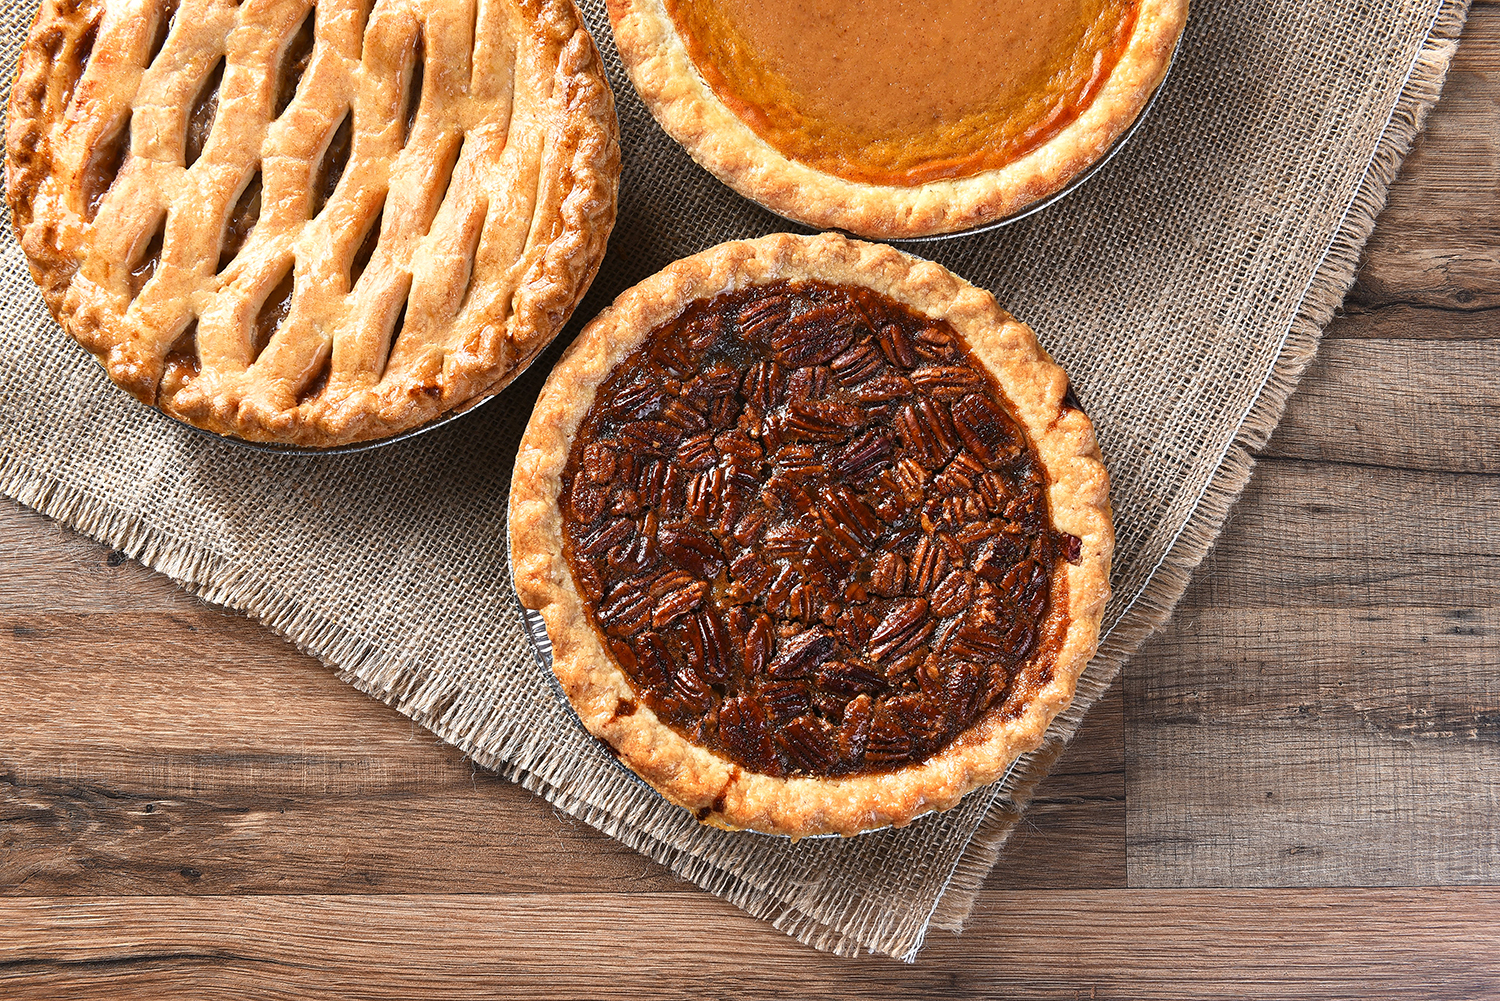
The most important step is cutting the cold fat into the flour. If you don’t do this, you’ll lose the flakiness. The easiest way to do this is with a food processor. Add your flour and then your cold fat (cut up into smaller tablespoon-size chunks). Now pulse the machine until the mixture creates pea-size pieces of fat evenly distributed throughout the flour.

With the machine running, stream in your water until the mixture forms a dough. You may need to add slightly more water if your mixture is too crumbly, but don’t add too much more or your crust will turn out tough. A little crumble is what you’re looking for.

If you don’t have a food processor, you can cut your butter using a pastry blender: two butter knives. Put your flour in a bowl, add your cold butter or other fat and start cutting away until you get those pea-size pieces. Make a well in the middle of your mixture, add your water and combine by hand until a dough forms.

Chill pie dough before using

Chilling the dough prior to baking is key. If you’re making a single batch, form the dough into a disk, wrap it up and place it in the fridge to chill for at least an hour. If you’re making a double batch, divide the dough in two and do the same thing.


Authored by Megan Dom. Reprinted by permission from StrongerTogether.coop. Find articles about your food and where it comes from, recipes and a whole lot more at www.strongertogether.coop.

DIY Body Scrub with Essential Oils

Your skin is your body's first line of defense against a host of tough customers - sun exposure, pollution, hot days and freezing cold temps. It's important to take good care of your skin with organic tools - such as body scrubs and essential oils - so it can take good care of you.  

Basic formula and function

Start with the basic formula: something scrubby + skin care oil. For scrubby ingredients, use food-grade, biodegradable ingredients like sugar, salt or coffee grounds (before or after brewing). These will exfoliate the skin, removing dry, dead and dull-looking skin cells and helping to prevent clogged pores. Incredibly, your skin will respond by generating new, fresh skin cells more quickly.

Next, choose plant-based oils that nourish the skin and provide lubrication for the scrubby ingredients. Sweet almond oil is a great choice, with its rich texture and skin-hydrating properties.

Add your favorite essential oils to the mix and take the benefits of your scrub to a whole new level of luxury and efficacy. 

Not sure where to start? Find some inspiration below. 

Clarifying Energizing Body Scrub

  • 4 tablespoons granulated sugar
  • 1/2 tablespoon coarsely ground coffee
  • 3 1/2 tablespoons sweet almond oil
  • 30 drops sweet Orange essential oil
  • 9 drops peppermint essential oil
  • 9 drops spearmint essential oil
  • 4-ounce amber glass wide-mouth jar

Clean & Fresh Body Scrub

  • 18 drops fresh ginger essential oil
  • 16 drops grapefruit essential oil
  • 14 drops coriander seed essential oil
  • 4 1/2 tablespoons granulated sugar
  • 2 1/2 tablespoons coconut oil
  • 1 teaspoon fresh grated ginger (optional)

Peppermint Citrus Scrub

  • 1 cup granulated sugar 
  • ¼-1/3 cup oil: coconut oil, olive oil, sweet almond oil, apricot oil, avocado oil, or a combination
  • Optional: 2-4 tablespoons orange or grapefruit zest (for extra exfoliation)
  • 10 drops peppermint essential oil
  • 10-15 drops wild orange essential oil (lemon or grapefruit will also work- or any combination of these)

Preparation

  1. In a mixing bowl, combine all ingredients and stir until well blended. Transfer to wide-mouth jar.
  2. To use, scoop scrub out of jar with fingertips and apply to skin using gentle circular motions.
  3. Rinse with warm water and pat dry.


Authored by Aura Cacia. Reprinted by permission from StrongerTogether.coop. Find articles about your food and where it comes from, recipes and a whole lot more at www.strongertogether.coop.

Get the Grill Started

Keep the grill hot and celebrate the end of summer! Start your grill about 30 minutes before you begin cooking. It’s a good idea to have a hot side for grilling meat and a cooler side for grilling fish, seafood and vegetables. If you don’t have a gas grill, consider using chunk charwood, which is preferred by chefs because it burns clean and hot, sealing in the flavor and moisture of grilled foods. Since charwood is produced with nonlumber wood fired in kilns, it is also the best environmental choice.

Chargrilled-vegetables.jpg

Aside from traditional grill items like beef, chicken and sausages you can add that char-grilled flavor to items such as:

Corn Soak the corn in cold water for 30 minutes, peel back the husk, remove the silk, return the husk; then grill for 15–20 minutes, turning frequently.

Mushrooms Wash fresh mushrooms quickly under running water; then pat dry. Skewer or place in a grill basket. Brush with oil and grill for 5–7 minutes. Whole portabello mushrooms take 10–20 minutes, depending on their size.

Onions Slice thickly and brush with oil. Cook onions directly on the grid at medium-high heat until they start to turn brown. You can also roast an onion by cutting it in half, wrapping it in foil with a little butter, and cooking it for about 30–45 minutes at medium heat.

Peppers Grill whole peppers at high heat until skin is charred black, about 15–20 minutes. Cool in a paper bag for 15 minutes to loosen blackened skin. Peel and remove seeds.

Potatoes Wrap baking potatoes in foil. Cook at medium heat for 25–30 minutes or until tender.

grilled-seafood-platter-23435-1.jpg

Shellfish You can cook shellfish on the grill. If they are large, such as prawns or crab you can grill them directly on the grid. Smaller shellfish, such as mussels, clams, oysters, scallops or shrimp can be skewered or cooked in a basket. Shrimp take about 8–12 minutes depending on their size.

Steak Choose steaks that are no thicker than 1 1/2 inches, and which have some visible fat marbling for tenderness. To keep the juices intact, use tongs rather than a fork to turn your meat. At the hottest setting, sear for 1–2 minutes per side. Then move to a medium heat and cook for about 4 minutes per side for rare (it will feel fleshy to touch), 6 minutes per side for well-done steak (it will feel firm).

Spare ribs Spare ribs are the most popular type of grilling pork ribs. Avoid using a direct heat source. Indirect cooking at a low temperature for several hours will produce very tender ribs. Season with a dry rub before you grill and add barbecue sauce at the end of grilling. Use a drip pan with water or other liquids, such as broth or juice, to keep ribs moist.

Fish Firm fish, such as tuna, salmon or halibut can be cooked directly on the grill if handled carefully. A hinged wire grill basket is best for cooking whole fish or tender fillets. Grill fillets at medium to medium-low heat. Fish can cook quickly so turn only once to keep from crumbling.

Reprinted by permission from StrongerTogether.coop. Find articles about your food and where it comes from, recipes and a whole lot more at www.strongertogether.coop.

Watch this: easy chicken stock

Making your own stock can seem daunting, but the extra flavor and cost savings of this easy stock make it so worthwhile.

Ingredients

  • 1 whole chicken carcass
  • 1 medium yellow onion
  • 3 small carrots
  • 2 celery stalks
  • 1 medium leek
  • 1 fresh garlic bulb, cut in half crosswise
  • 1 tablespoon whole black peppercorns, lightly crushed
  • Pinch of salt Small bunch of thyme
  • 1 handful of parsley
  • 2 bay leaves
  • Water

Preparation

Place chicken carcass in a 1 gallon stock pot. Roughly chop onion, carrot, celery and leek to about the same size and add to the stock pot. Add all remaining ingredients and cover with cold water to about 1-2 inches above the level of the ingredients. Bring to a boil and remove any frothy residue or fat that rises to the surface. Simmer for about 30-45 minutes, skimming as necessary. Strain through a fine strainer, reserve the stock and discard the cooked vegetables and chicken.

Serving Suggestion Use chicken stock in place of water when making soups, rice and sauces for added flavor.

Authored by Brett Gacutan for Stronger Together. Reprinted by permission from StrongerTogether.coop. Find articles about your food and where it comes from, recipes and a whole lot more at www.strongertogether.coop.

Think outside the bag

Lunch-Box.jpg

Brown Bag Lunches can get boring if they are the same old thing over and over again. Kids may trade to get a lunch that they find more fun to eat.

For adults, boredom can lead to a trip to the vending machine or convenience store- a difficult place to find healthful choices.

The solution is to mix it up with nutritious and think outside the brown bag. To start thinking “outside the bag,” use the ideas below to put together a fun lunch that brown baggers of all ages will enjoy. Be sure to add your favorites to the list!

Pick from these whole grains choices—pick one or two:

  • Whole grain crackers
  • Whole grain mini-bagel or pita bread
  • Toasted whole grain English muffin
  • Low fat granola in a one-quarter cup container
  • Low fat bran muffin Whole grain rice or pasta salad

Vegetable choices—pick two or more 1/2 cup servings:

  • Three bean salad, with added beets and olives, dressed with balsamic vinegar and olive oil Hummus (garbanzo bean spread)
  • Vegetable soup (1-cup) in a thermos or microwave safe container
  • Baby carrots
  • Celery sticks
  • Cherry or grape tomatoes
  • Cooked okra pods
  • Cooked green beans
  • Sweet pepper strips
  • Cooked corn the cob (6”ear = ½ cup; 8-9” ear =1 cup)
  • Salad (1-cup) with one tablespoon of dressing

Fruit choices—pick one:

  • Favorite fall apples
  • Dried fruit packed in a one-quarter cup container
  • Frozen berries packed in a one-half cup container (they thaw by lunchtime)
  • One-cup 100% juice

Dairy/high calcium choices—pick one:

  • Chocolate milk or calcium–fortified soy milk
  • Yogurt String cheese
  • Light cheese rounds or triangle wedges
  • High calcium hot cocoa packet or already made up in a thermos
  • Pudding

Protein choices—pick one:

  • Turkey or chicken breast or roast beef slices
  • Canned tuna, salmon or other fish
  • Bean salad or spread from above (beans count as protein AND vegetable)
  • Flavored baked tofu or tempeh chunks
  • Chunky peanut butter, sunflower seed or almond butter

You can create delicious lunch combinations, for example:

  • Whole grain crackers and cheese, chicken and vegetable soup in a thermos, a serving of celery sticks, chocolate milk to drink and a Ginger Gold apple.
  • Three-bean salad with grape tomatoes, low fat bran muffin and thawed frozen fruit topped with yogurt.
  • Toasted whole grain English muffin with tomato, turkey, and low fat cheese with 100% grape juice to drink.

Authored by Mary Choate for Stronger Together. Reprinted by permission from StrongerTogether.coop. Find articles about your food and where it comes from, recipes and a whole lot more at www.strongertogether.coop.

Blanch and Freeze Fresh Vegetables

With the summer coming to a close, it's time to start thinking about preserving your summer harvest. Blanching is a great way to preserve peak color, flavor and nutrition in vegetables. Hilah Johnson takes us through the simple steps for blanching your fresh veggies. Once blanched, veggies and fruits can be frozen for long-term storage.  

Authored by Hilah Johnson for Stronger Together. Reprinted by permission from StrongerTogether.coop. Find articles about your food and where it comes from, recipes and a whole lot more at www.strongertogether.coop.