

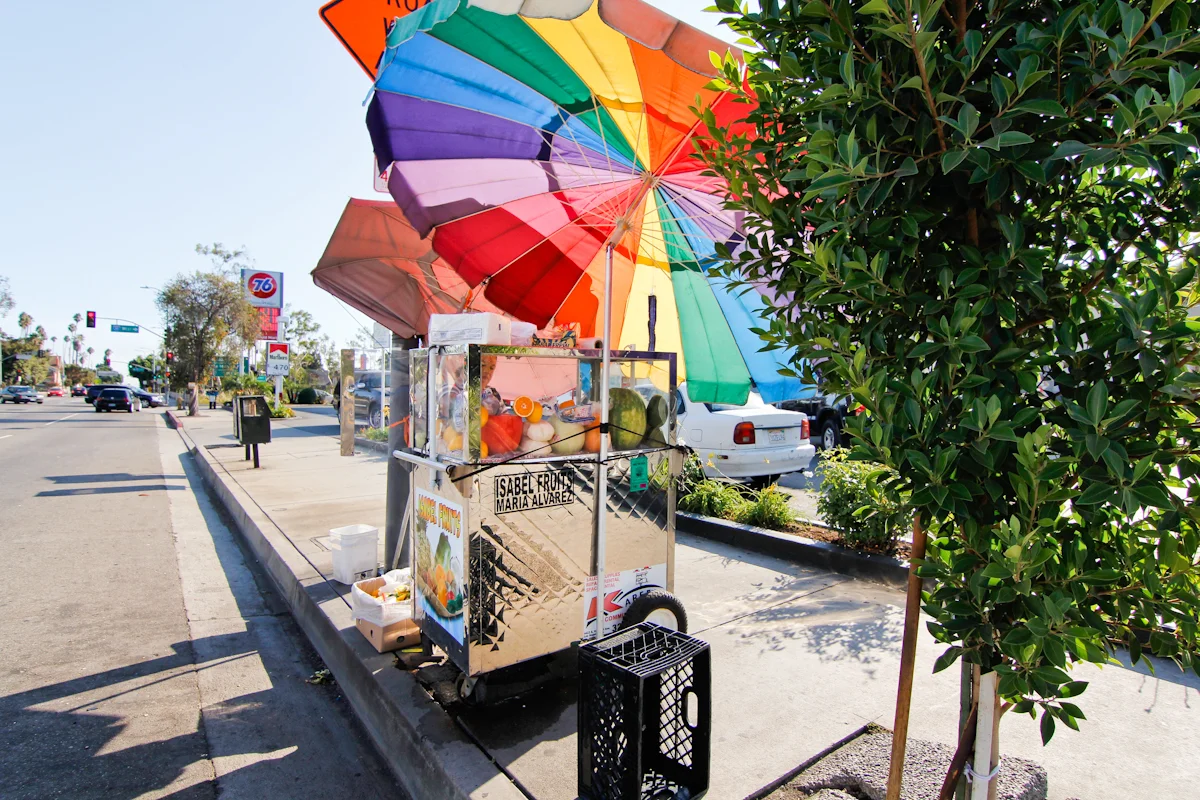
If you’ve been to Los Angeles, you may be familiar with the fruit carts sprinkled throughout the city’s many neighborhoods. Carts are typically situated on street corners topped with a rainbow umbrella. Once you spot one, they’re hard to miss.
No matter where you are in the city, vendors stock their carts with the same tools and ingredients - a cutting board, a sharp knife, Ziploc bags, and a bounty of fresh fruits on ice. The secret to this fruit salad is the seasoning. Tajín, a spicy Mexican salt, combines with fresh lime juice for an extra kick and refreshing treat.
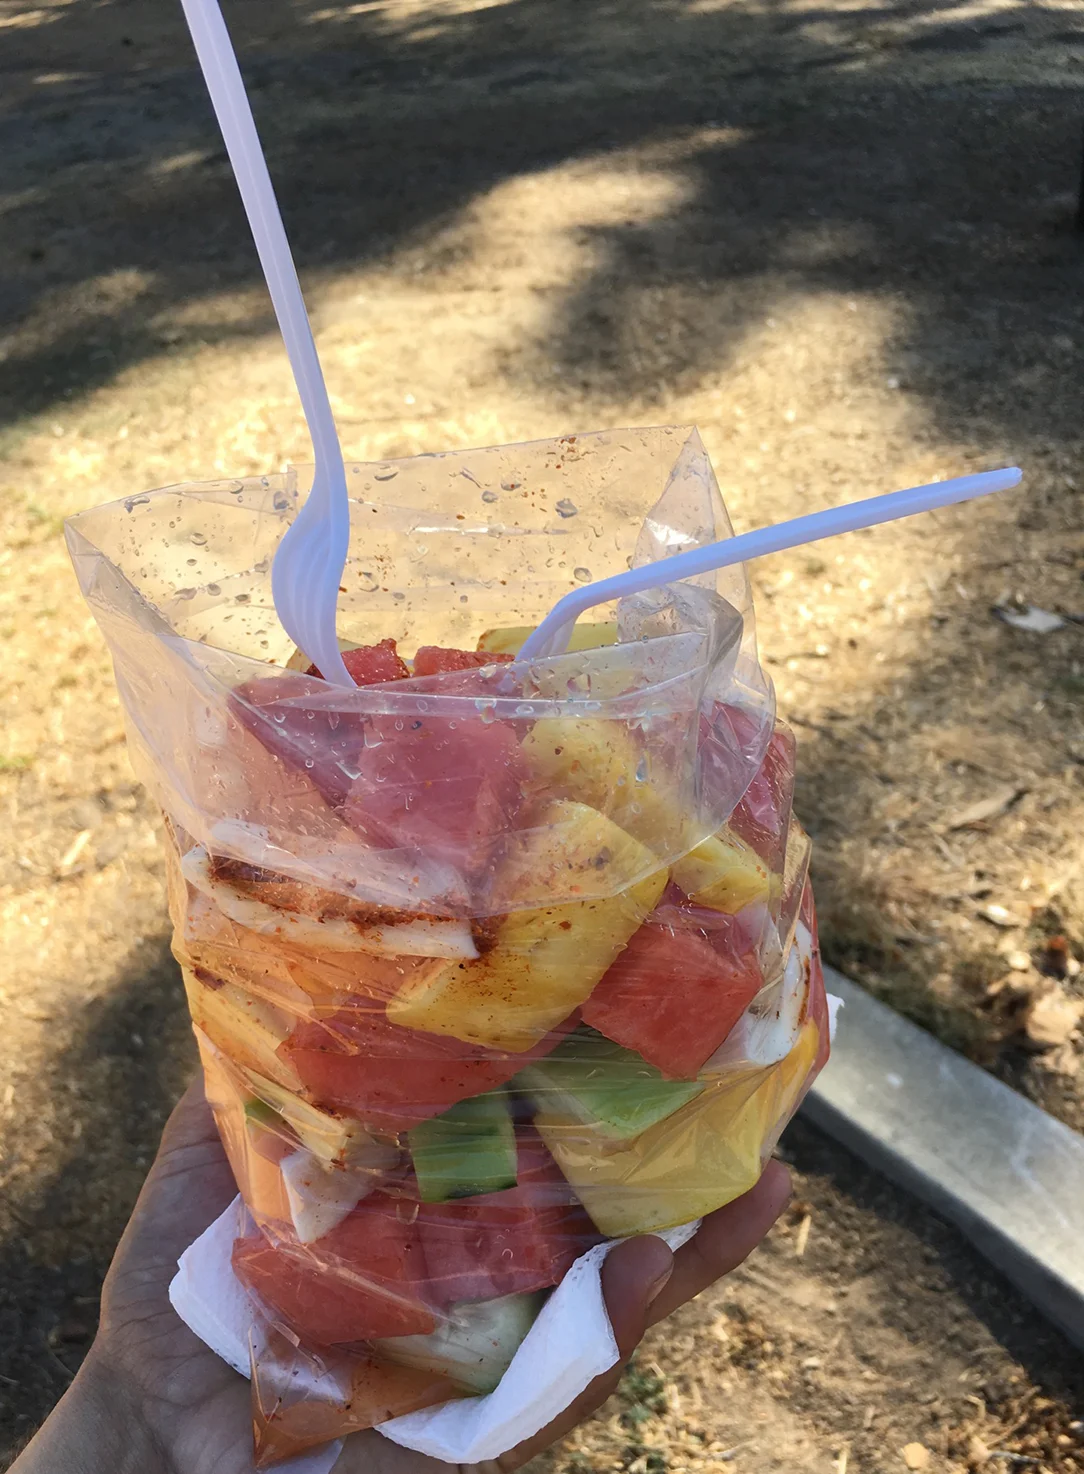
LA fruit vendors load up a ziploc bag to be enjoyed on-the-go.
Like any fruit salad, this recipe is very forgiving and can be completely tailored to your tastes. LA fruit carts traditionally use tropical fruits, like mango, melons, and pineapple, but feel free to substitute as you please.
Ingredients
- 1 small watermelon
- 1 cantaloupe
- 1 jicama
- 1 pineapple
- 1 cucumber, peeled and seeded
- 2 mangos
- 1 papaya
- Healthy dash of Tajín or chili powder
- Juice of 1 lime
Preparation
Chop fruits into bite sized pieces. Toss fruits with lime juice and Tajín salt or chili powder. Add an extra dash of Tajín if you can handle the heat.
Serving Suggestion
Serve in a bowl at your upcoming summer bbq. Throw the salad in a Ziploc bag and enjoy on-the-go like a native Angeleno.


